Create Virtual Machines
In this section, we will create 4 virtual machines: 1 kubernetes master node and 3 worker nodes. Repeat the procedure below for each of the nodes. It is identical for every node with the exception of host names and IP addresses.
Create new VM using KVM
On KVM host, execute the following command. Make sure to substitute <VM_NAME>, with the correct name of the virtual machine. In this lab environment, we have the following VM names: kubernetes-master kubernetes-worker1, kubernetes-worker2, and kubernetes-worker3.
sudo virt-install \
  --name <VM_NAME> \
  --ram=4096 \
  --disk size=100 \
  --vcpus 2 \
  --os-type linux \
  --os-variant ubuntu20.04 \
  --graphics none \
  --location 'http://archive.ubuntu.com/ubuntu/dists/focal/main/installer-amd64/' \
  --extra-args "console=tty0 console=ttyS0,115200n8"
Follow OS installation process
The installer will bring up a minimal text interface that will guide you through the installation of Ubuntu 20.04 LTS on your VM.
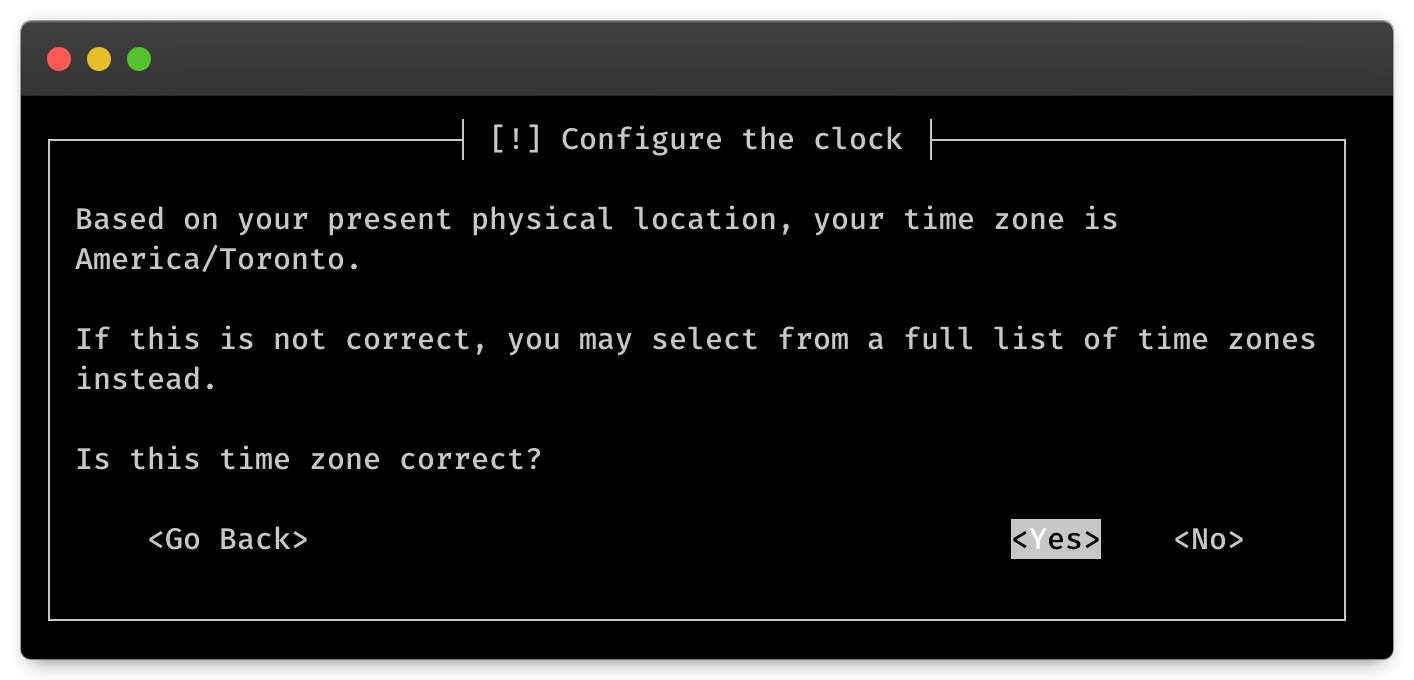
Follow the installer steps, as they are self-explanatory. There are a few key things that must be configured correctly:
- Ensure hostname matches the name of the VM, i.e.
kubernetes-master - Configure correct timezone
- Accept default partitioning
- Select no automatic updates
- In the software selection, choose
OpenSSH server - Install GRUB into MBR
- Set hardware clock correctly for your configuration (UTC or localtime)
Find out the IP address of the newly created VM
The VM will be assigned a dynamic address from the DHCP. You can check your DHCP server for the assignment. SSH into your VM.
Enable serial console
KVM has a powerful troubleshooting trick in its arsenal - it allows you to connect to an emulated serial console of the virtual machines. This can be very helpful in troubleshooting in cases where VM networking is broken. In order to take advantage of this feature, you need to redirect VM's tty0 to the serial interface:
Edit /etc/default/grub and add the following to the GRUB_CMDLINE_LINUX_DEFAULT= line, i.e.:
GRUB_CMDLINE_LINUX_DEFAULT="quiet splash console=tty0 console=ttyS0,115200n8"
Then run:
sudo update-grub
Reboot your VM. After the reboot, you should be able to connect to VM's serial console from the KVM node, i.e.:
sudo virsh console k8s-master1
Disable swap
Deactivate running swap
sudo swapoff -a
In /etc/fstab/, remove or comment out any swap mountpoints, such as /swapfile or /swap.img
Optionally, you can save a bit of disk space by removing the allocated swap file, i.e
sudo rm /swapfile
Set up virtual bridge and static IP
Follow instructions to set up br0 virtual bridge network interface and configure static IP on your VM.